As a business owner, you want to give your customers the best possible online experience. With Shopify standard pages, you can create a professional and polished website that reflects your brand.
Setting up Shopify standard pages is relatively simple but may take some time. The page builder in Shopify apps lets you create a website from scratch. It also has drag-and-drop functionality, so it’s effortless to navigate. The Shopify standard pages are the backbone of your online store. This post will walk you through how to set up Shopify standard pages and what they do for you.
What are the Shopify standard pages?
Shopify is one of the most advanced and easy-to-use eCommerce web builders available today. Shopify Standard Pages are the pages created when someone signs up for eCommerce stores through Shopify. The standard pages are the product categories, search, Refund Policy Page, About Us, etc. Creating and customizing Shopify pages for your Shopify store is very easy through certain page templates. If you want you can use them from Shopify’s theme store or you can set them manually. You can download several apps from the Shopify app store to customize your Shopify pages.
>> Free! Free! Signup for Shopify free trial here!
Standard Page Options for Shopify Store
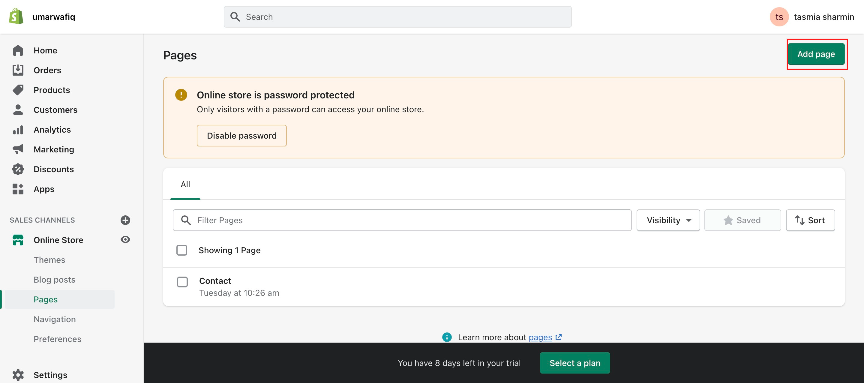
Before you can set up your Shopify store standard page, you need to understand what it looks like. The easiest way is to go into your Shopify admin and click on the “Pages” menu. You should see a list of links to your standard pages in order from first to last in your store’s navigation. So, the simple steps are Shopify admin> online store> pages.
The menus for navigating between these Shopify basic pages are customizable, so you can rearrange them if preferred. Suppose you want to change the options available to your customers to browse your store. You can eliminate any pages you don’t need. To edit a standard page, click the ‘pencil’ icon next to its name.
How to create the Shopify Standard pages for the eCommerce store:

- Start by logging in to your Shopify account and viewing your Shopify admin dashboard.
- From the Shopify admin left menu, select-Online Store> Pages and then +Add page.
- Create each of these pages using this basic format, giving them unique titles and information to each page.
Here you can customize Shopify pages as you want.
Homepage Title:
This will be the title of your store(store name), so make it something relevant and inviting.
Product category title:
It is your Shopify collection page, so enter in a name that reflects what the pages’ categories are about, i.e., Phone cases or T-shirts. Think about how you like browsing sites like Amazon or Etsy or even Pinterest. The more descriptive you are with the titles of your categories; the easier browsing will be for people on your website.
Search Title:
Here you are naming what this page is about, so again keep it relevant and exciting to look at.
Notifications Title:
This is where you want to state what these notifications are about. Is it a new message or information?
Account Title:
Again, make this relevant and exciting. Think of this page as the welcome mat for your online store, so make sure it stands out!
- When you have finished creating all your pages click ‘Pages’ in the “online store” menu ber.
- You can now preview your standard pages by clicking each of the corresponding pages.
13 Shopify Standard Pages all Shopify stores Should Create
1) Homepage
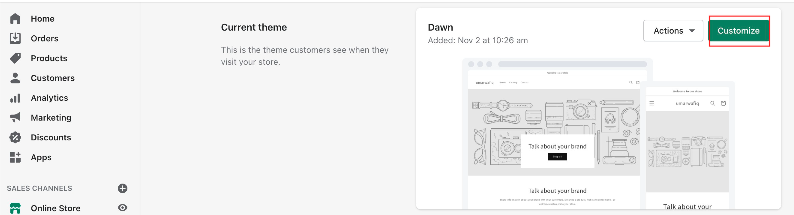
This will be the first thing a customer sees when they arrive on your site, and it’s an excellent opportunity to provide a quick glimpse into what the Shopify stores are about.
The design of these eCommerce store pages entirely depends on your Shopify theme. That means that some Shopify store landing pages will be more attractive than others, but they’re all easy to use and designed with usability in mind.
Follow the instructions to create and customize your online store homepage.
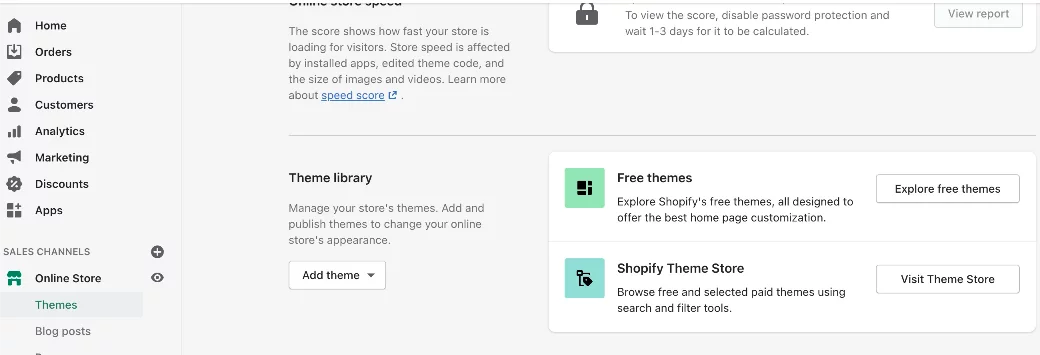
To begin with, visit the Shopify theme store. You can create a different homepage based on the Shopify themes. There are free themes as well as paid themes are available.
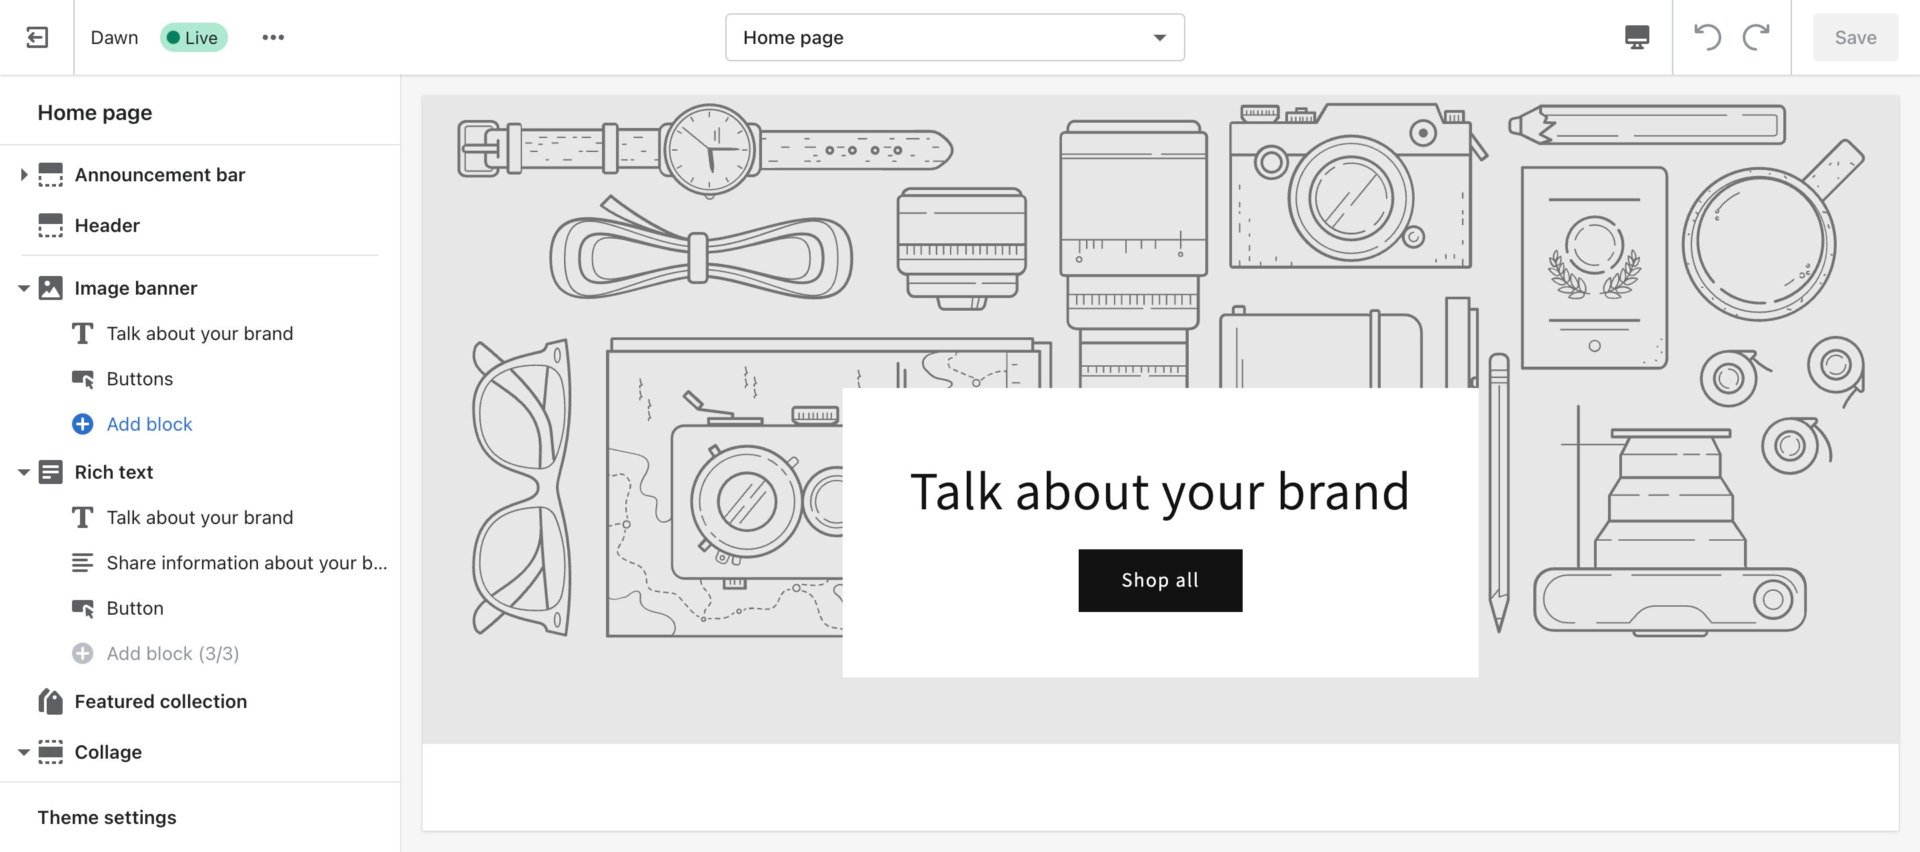
There are two new tabs in the Shopify themes editor: Sections and theme settings.
On the Sections tab, you can customize widgets such as promotions, headers, and footers and add more sections by using the Add section option.
Within the preview of your theme editor, you will see the section tab change so you can edit the products, collections, searches, carts, blogs, and more. In addition, you can edit sitewide options in the General settings tab, such as colors, social media integration, and currency converters.
Try to always add images in this section of the page since it’s the main focus.
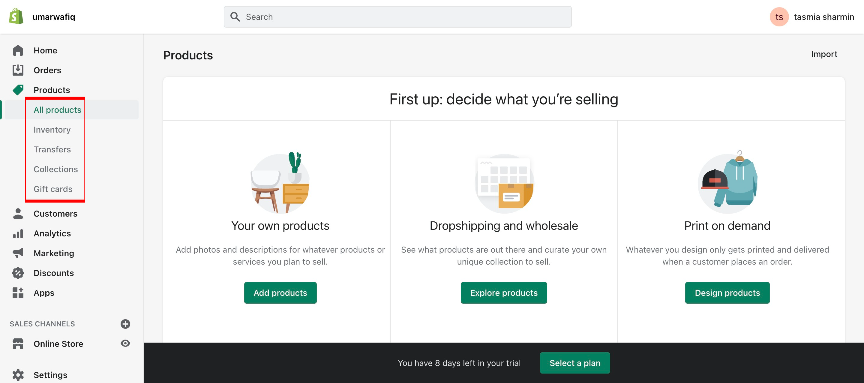
2) Product Collection pages
This is where you can create links to all of your Shopify store products within a specific category. In your Shopify product pages, you should give more exposure to some top-selling categories. Since this is your Shopify product page, it is a simple list of links. There isn’t much room for creativity here. However, you can change the product images that are shown on each collection page.
You should follow these steps to create a new page of collection (category):
#Step1: Enter the Shopify admin panel of your Shopify account.
#Step2: Under the All-Products drop-down menu, click on the Collections button.
#Step3: Provide the title for your new collection in the ‘Collection details’ section.
#Step4: Describe the collection’s conditions in the ‘Collection details’ section.
3) Refund Policy page
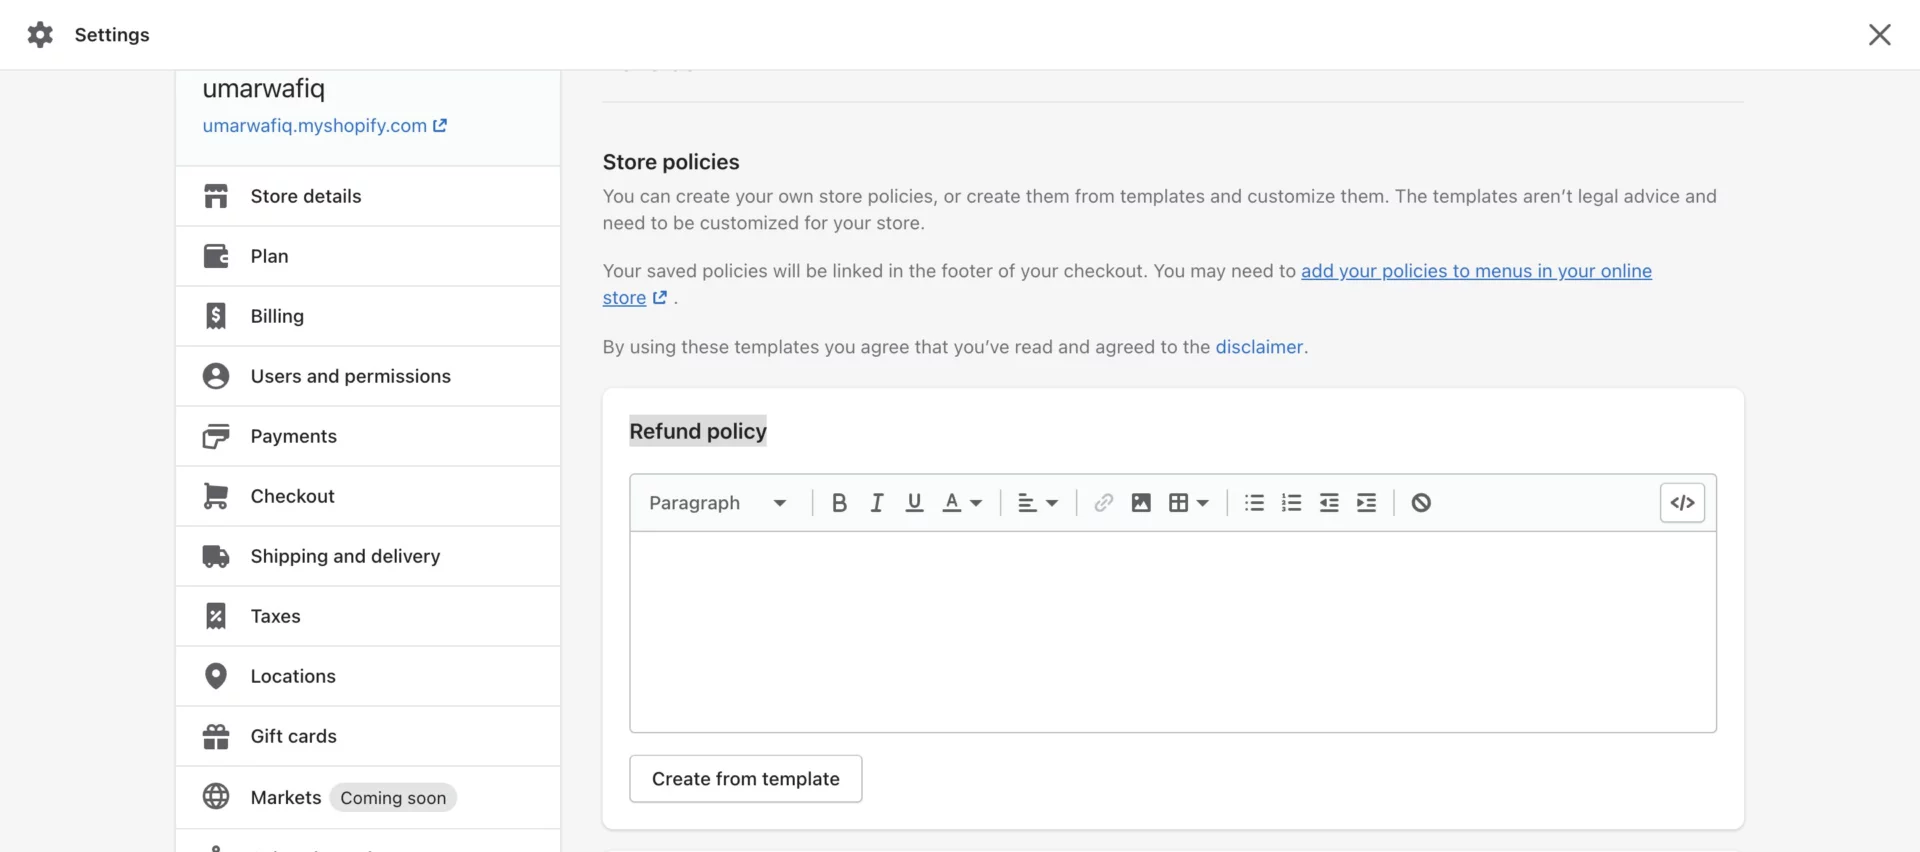
This is a legal requirement for many online stores and must be included on all sites that sell to consumers. Make sure that your refund policy new page is reasonable and fair for both you and your customers. (Page template available from Shopify)
On the Shopify refund policy page, there are several options for how you want your money to be returned. You can request a full refund by providing an email address.
4) Privacy policy page

The security and confidentiality measures are described in this Privacy Policy Page. It is designed to ensure that the Shopify store can continue providing the service and protecting customers’ information. Suppose they do receive any unlawful notice requesting disclosure of any customer’s Personal Information. In that case, they will promptly notify the customer by email or telephone so that he/she may take appropriate steps to protect such information.
It is one of the important Shopify pages which work as technical and administrative safeguards. This page is designed to minimize unauthorized access, maintain data accuracy, and ensure the appropriate use of the service.
5) Terms of service
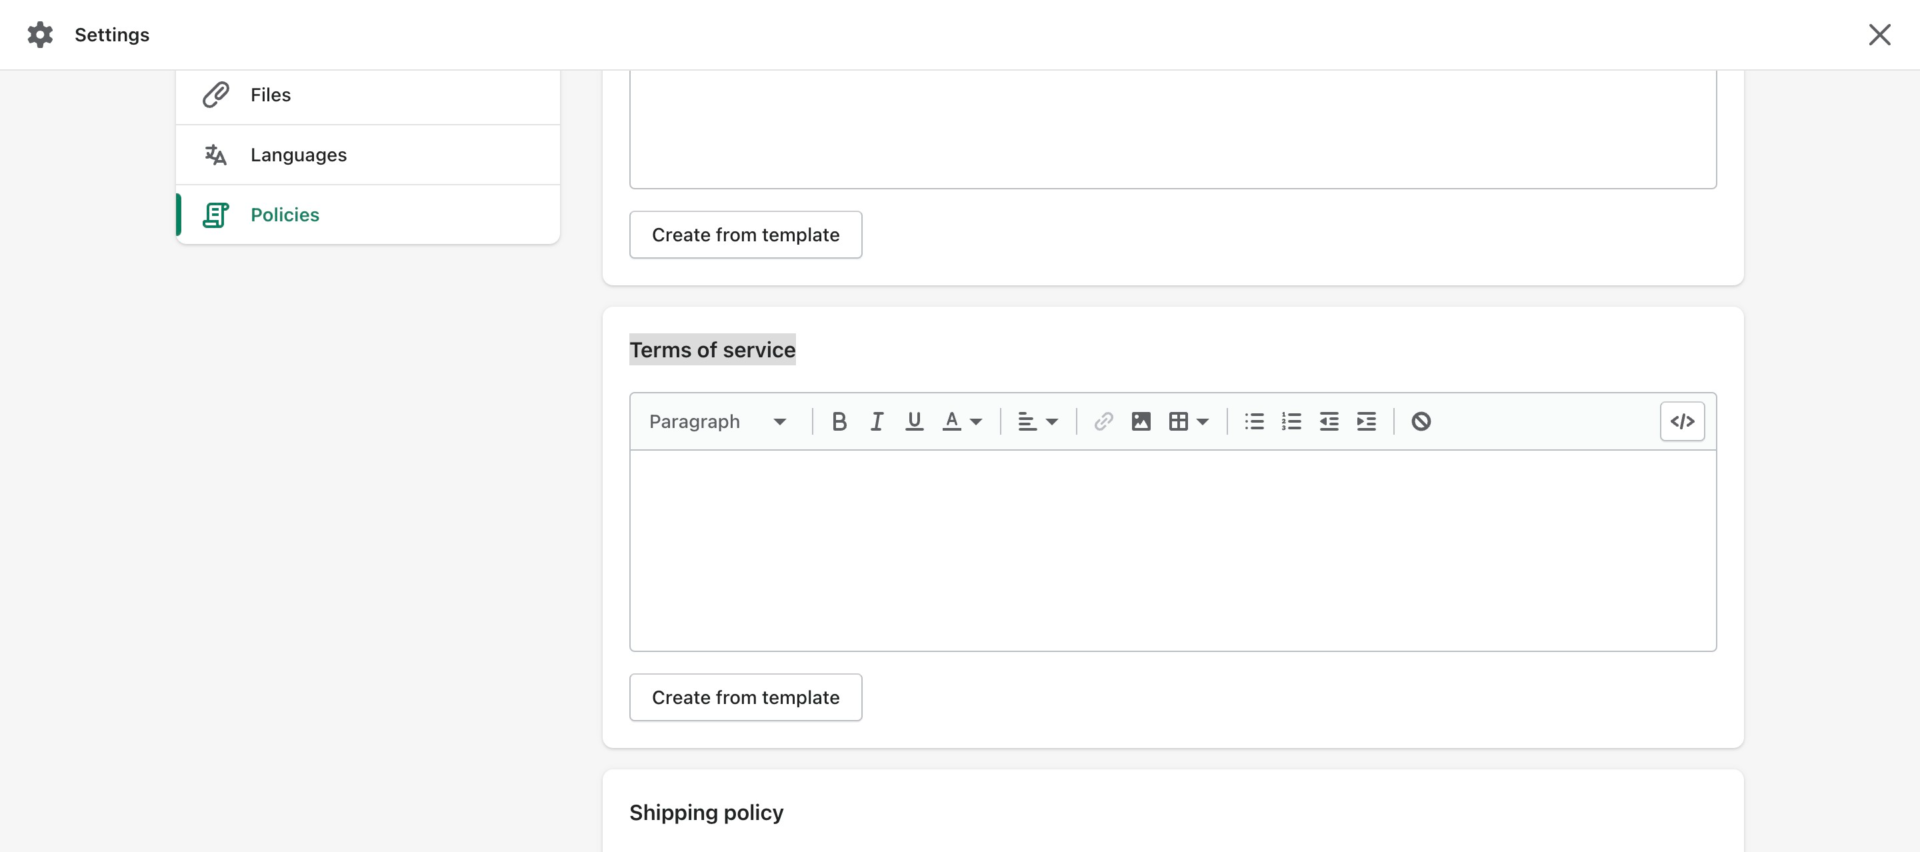
You are probably wondering what the terms of service page are for Shopify. Well, it’s a contract with your customers that outlines their rights and responsibilities when they make purchases on your website or app!
The Shopify terms and conditions page is where you tell your customers what they are legally bound to when using your site. It should be obvious, concise, and easy to read. There are some great tools for writing things like this, but if you want to write it yourself on your Shopify store, check out Shopify Terms and Conditions generator.
There will be things on here that primarily concern security measures and outline how you can interact with shoppers in different ways depending on whether or not they have purchased items from you before. For example, some pages may require registration for access, while others only allow logged users viewing privileges -so take note!
6) Shipping Policy page
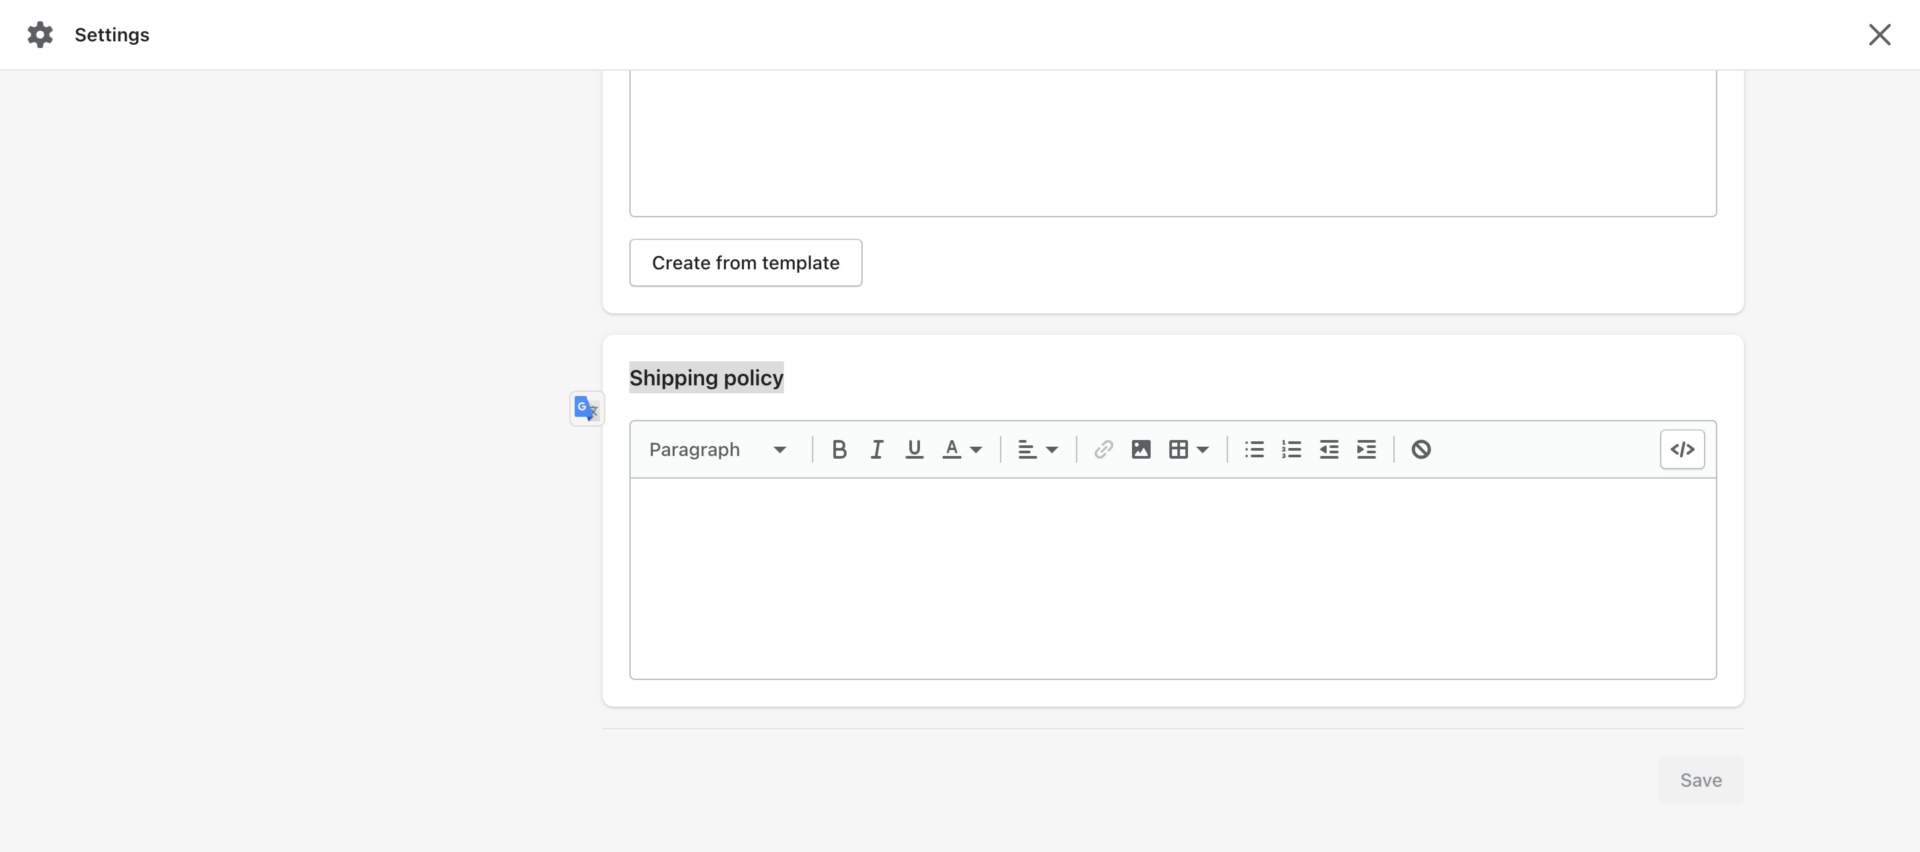
The Shipping Policy Shopify page is an essential document for any online store owner. It tells potential buyers what they can expect when purchasing from your company!
The section on this webpage deals with all aspects related to shipping – how much does it cost? Which countries do you deliver to? Etc. However, things might be written here that could confuse new customers, so make it clear and concise.
Follow these 4 steps to create these four Policy Pages in Shopify
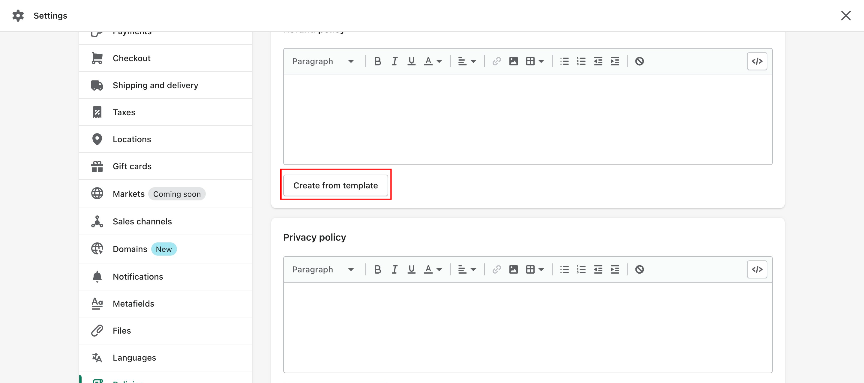
#step1: Navigate to Settings > Policies>Privacy/Refund/Term of service/Shipping Policy in the Shopify admin.
#Step2: Create a page template from the default or enter your store policies.
#step3: Check and update your policies as necessary.
#Step4: When you are done, click Save.
7) FAQ page:
Frequently asked questions, commonly known as FAQs, is a list of the most common questions your customers might ask you regarding your product and services. It can also be very effective if you choose to create it on Shopify and place it in between checkout and confirmation pages so customers can learn more about your product and services before committing to a purchase.
FAQs are a great resource to answer all the common questions of your customers. Depending on what kind of site you are running, either text or video answers will be right on your storefront!
The Shopify app HelpCenter allows you to create an FAQ page for free.
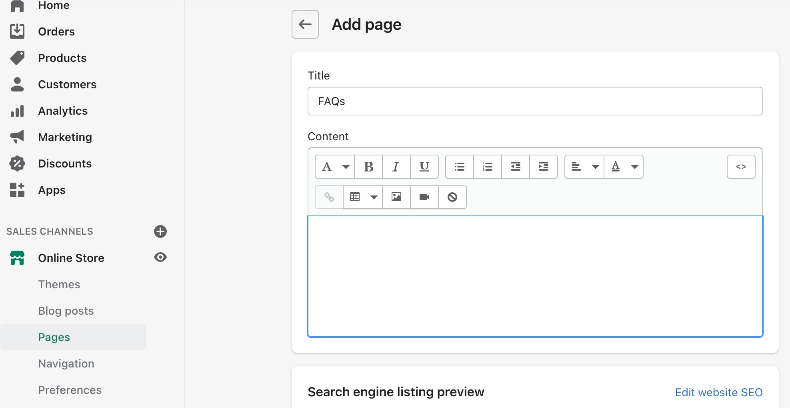
To add an FAQ page to Shopify:
#Step1: Click “online store” from the menu bar at the bottom of your screen.
#Step2: Scroll down until you see the “Pages” section, click on it. Then click Add Page.
#Step3: Enter FAQ in the Header. Enter information about the page, such as frequently asked questions and answers, website policies (returns and exchanges, etc.), etc.
#Step4: When you’re done, click Save.
8) How it works page:
The how it works page is a great way to demonstrate all of the functions of your website without getting too technical.
Create a How It Works Page in Shopify:
#step1: Enter Admin Panel > Pages>How it works
#Step2: Create How It Works template from a pre-made template or your design
#Step3: Write content and save.
9) Order Confirmation page:
The Shopify order confirmation page is a great place to provide information that enhances the customer experience. It should be clutter-free and straightforward and should allow them to contact you with any questions.
It’s worth mentioning that this page also gives you the option of providing them with an order number, refund policy, return policy, or any other pieces of information that they may need.
#Step1: Navigate to the Pages section in your Shopify admin>Create New Page
#Step2: Enter Order Confirmation in Header
#Step3: Click Create Page
10) About Us page:
The about us page is a concise overview of who you are as an individual or business and what makes your company unique. It can include information on sales numbers and reviews from satisfied customers that helped them decide to buy from our store!
The “about” section needs only a few sentences that sum up its importance for potential clients: it tells people why they should care enough about your organization.
To create an “About Us” page in Shopify follow these four steps:
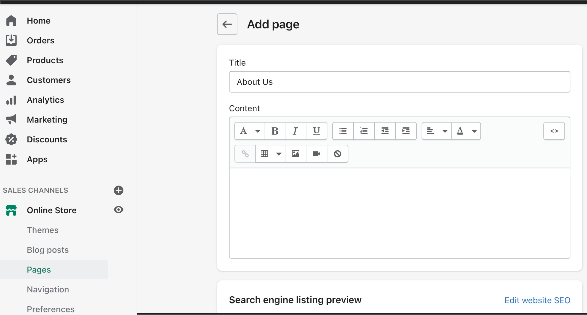
#Step1: Click “online store” from the menu bar at the bottom of your screen.
#Step2: Click “Pages” from the list on the left side of your screen. Click Add Page”
#Step3: Write “About Us” on the title.
#Step4: Enter the text for the About us page, and click Save.
11) Contact page:
Contact Page is an essential aspect of any store. It will show the customer where to find you via various methods, whether on social media, by email, or by phone number!
By default, a “Contact” page is automatically created now, but if you need one, you should select theme template > contact, then create one from scratch.
Create this Contact Us Page in Shopify:
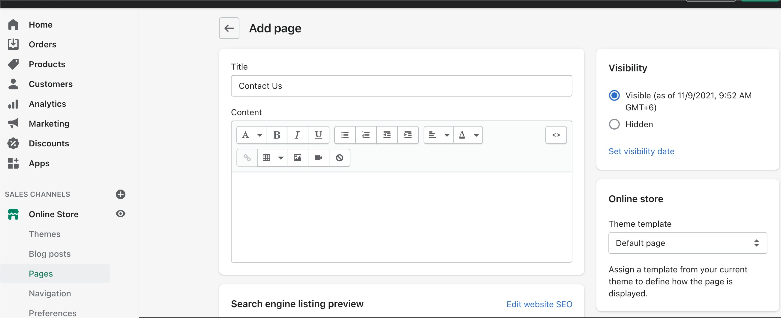
#Step1: Click “online store” from the menu bar at the bottom of your screen.
#Step2: Click “Pages” from the list on the left side of your screen. Click Add Page.
#Step3: Enter Contact Info in the Header. Select the Online Store theme and enter information for your contact pages, such as phone number, email address, or social media links.
#Step4: When you’re done, click Save.
12) Review page
A Review page is where customers can leave feedback on the website.
It is also called the Feedback Page; some business owners find it rewarding for customers to see the reviews of their products and services freely. However, many more business owners use this as a form of customer service that they might never have before. This way, they can prioritize care for what the customers need and want in Shopify reviews.
A review page can be a great help to customers as it displays ratings and reviews of your products on Shopify. It helps direct traffic and sales to the desired product and builds trust with potential buyers on the web.
To create a Review Page in Shopify:
#Step1: Click into the online store from the menu bar at the bottom of your screen.
#Step2: Click into Pages from the list on the left side of your screen. Click Add Page.
#Step3: Enter review in Header. Select the theme you are using for your online store and enter information about the Review page, such as ratings, reviews, etc.
#Step4: When you’re done, click Save.
The Shopify Review page will require a third party app to provide additional features.
13) Track your order page
Track your order page is a great place to contact new and existing customers with updates on their shipments. This will help you create more trust in your brand’s reliability and transparency by informing clients of the status of their orders.
You can use Shopify to set up a shipment tracking page for customers, where they’ll be able to view updates on their orders. You can include links to this page in your shipment confirmation emails or share the link on your social media profiles. It serves as a great way to encourage customers to leave reviews of products they’ve received!
To create a Track my order page in Shopify:
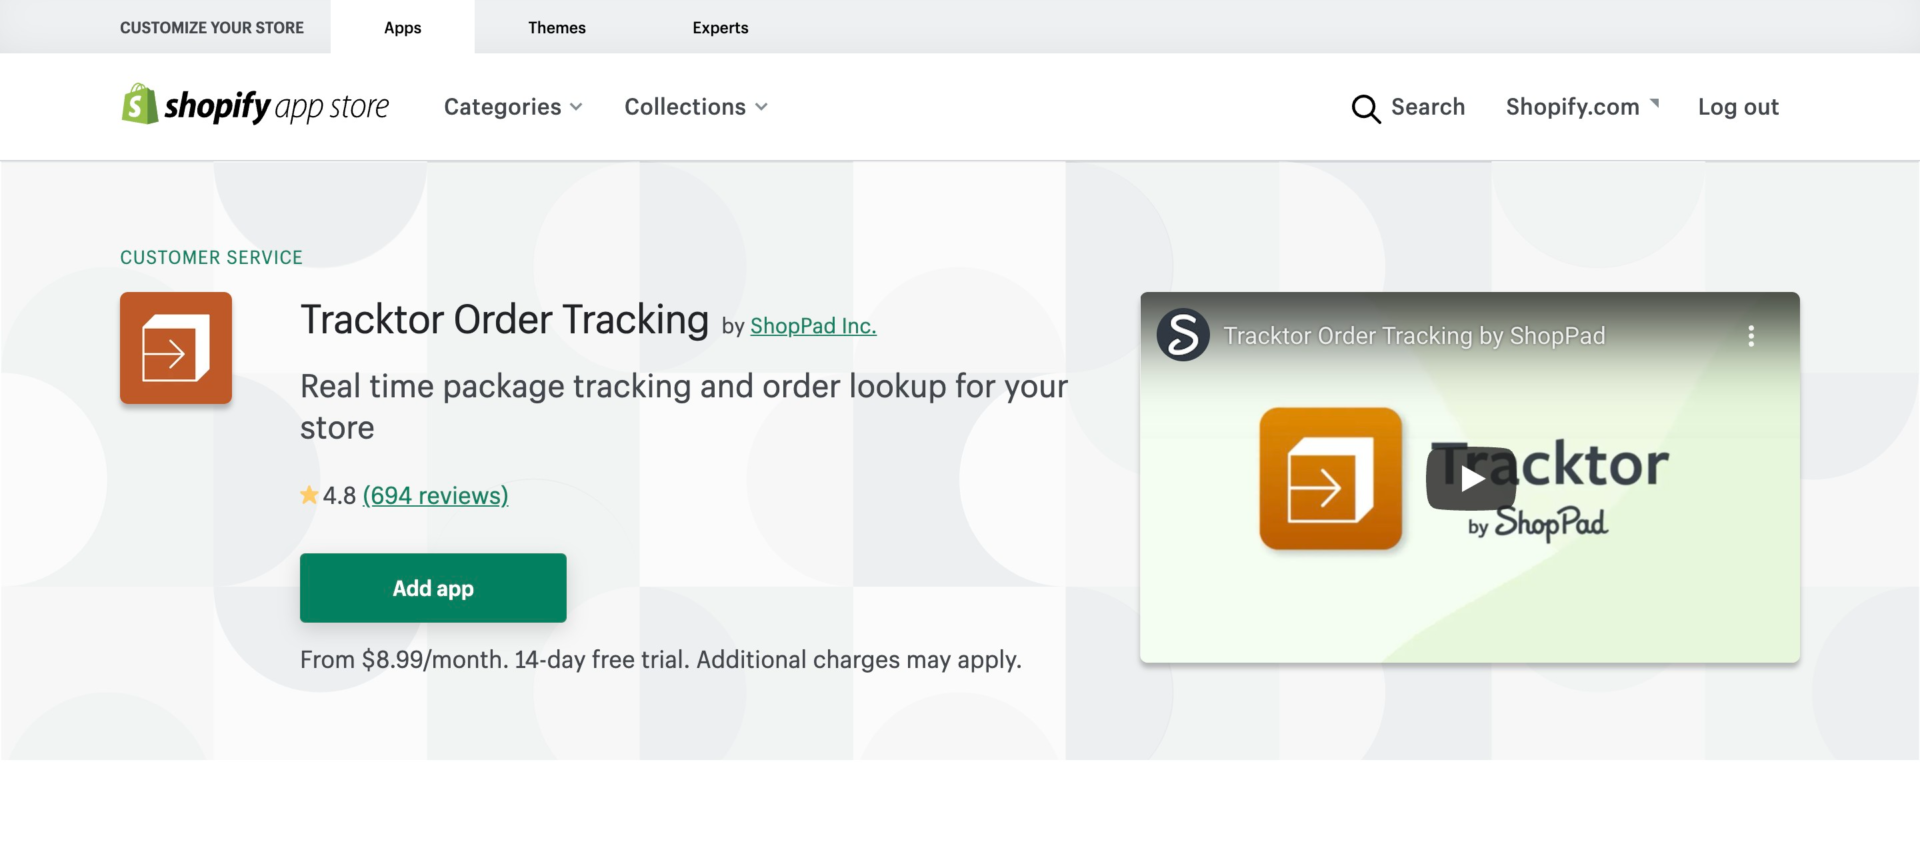
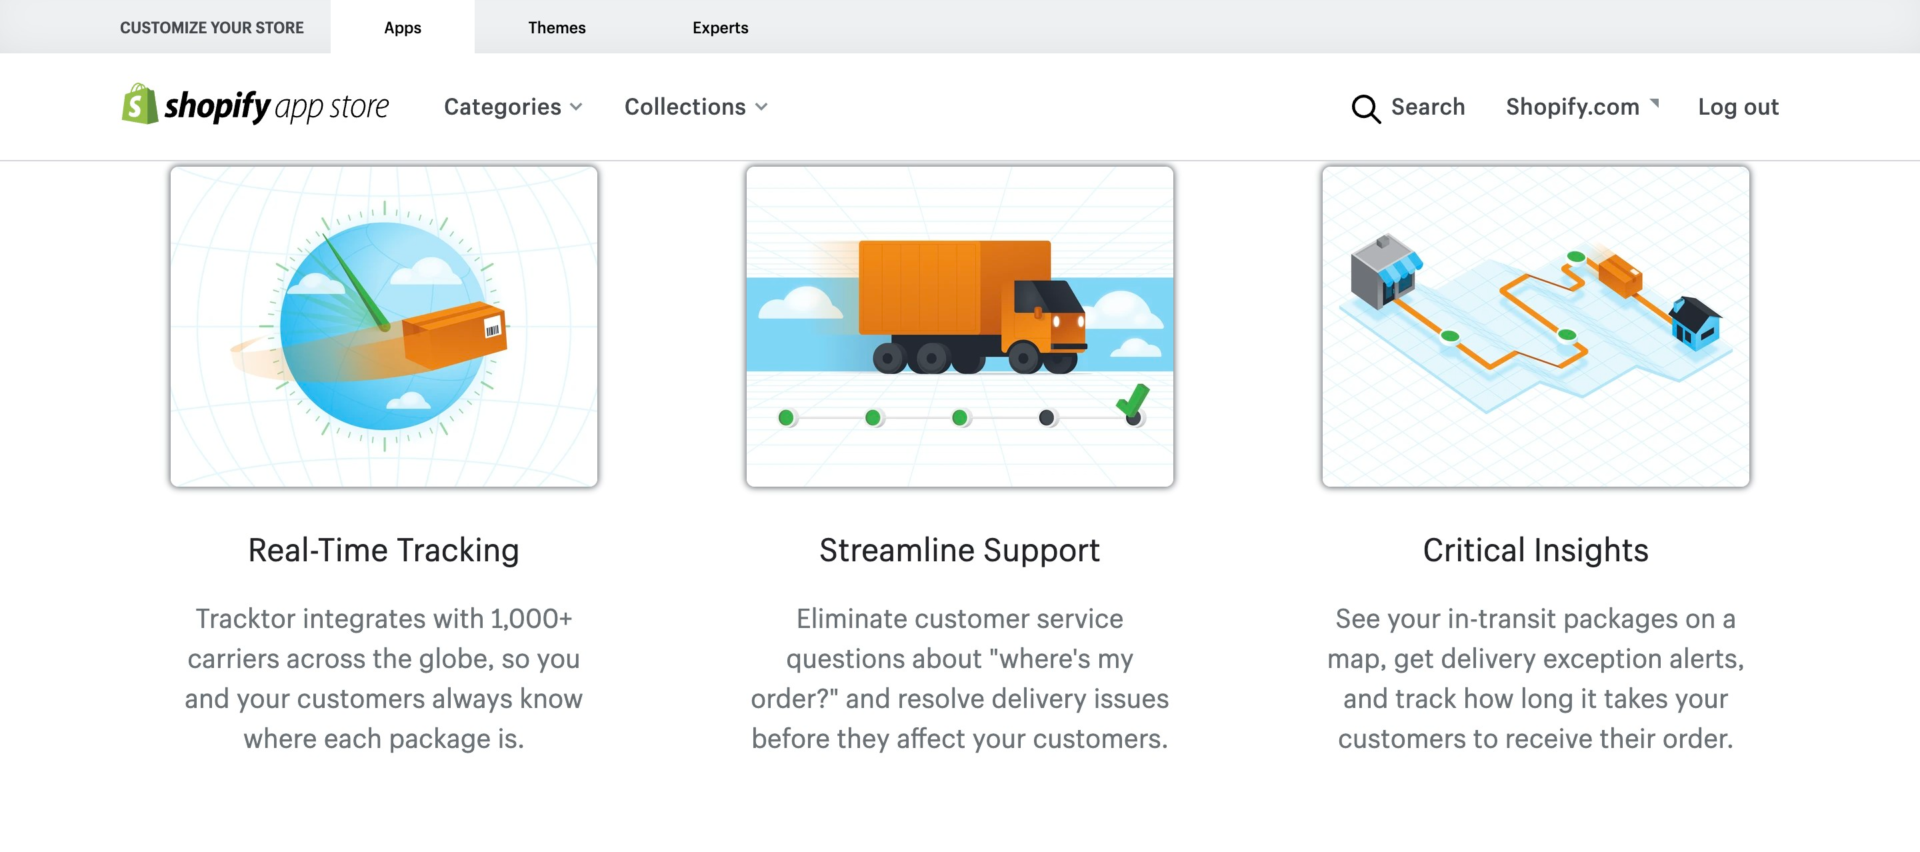
You can use apps like “Tracktor Order Tracking” to set up your Track your order page.
All the major carriers are integrated with Tracktor’s order status and package tracking system for professional-quality tracking. Your customers can check the status and location of packages in transit this way, providing great visibility to both you and your customers.
Some other pages are- Checkout page, password page, Our Teams pages, etc.
How to customize Shopify pages to grow business?
Customizing Shopify pages is crucial for business growth. You can add items that will help with your marketing and advertising efforts – such as logos or other information about what kind of company people might want more!
Shopify template pages help retailers launch their content quickly using a consistent look and feel. When you are trying to rank better in search engines, you need to do your website SEO. it’s important that your meta description is attracting enough attention. It should answer the question of your customers. The first sentence of this information will appear as part of Google’s algorithm for determining the overall quality.
Conclusion
See? It’s that simple to set up the standard Shopify pages on your Shopify store. In addition, it’s easy to edit your landing page and other pages at any time, so don’t worry about making a mistake!
Shopify empowers an incredible amount of users across 111 countries on its hosting. It has also brought in $119.6 billion in sales annually since 2014. Now it’s your time to grow your online business through Shopify.
Please feel free to leave any questions you have about what has been covered in this article. We will be glad to answer them.
>> Signup for your Shopify store now!
Thanks for reading!
DropshiplaunchPad Team
We have free articles designed to help new Shopify store owners learn the basics of setting up their online shop in no time. We hope this article was helpful! If it was, please share it with others, who may have the same questions as you.
 Shopify: How do you accept Bitcoins (and other crypto payments)?
  2023’s tips & tricks to avoid 30 common Shopify store mistakes
  2023’s Ultimate Checklist for launching a Shopify store
  2023’s Best way to Create a Unique Shopify Review Page